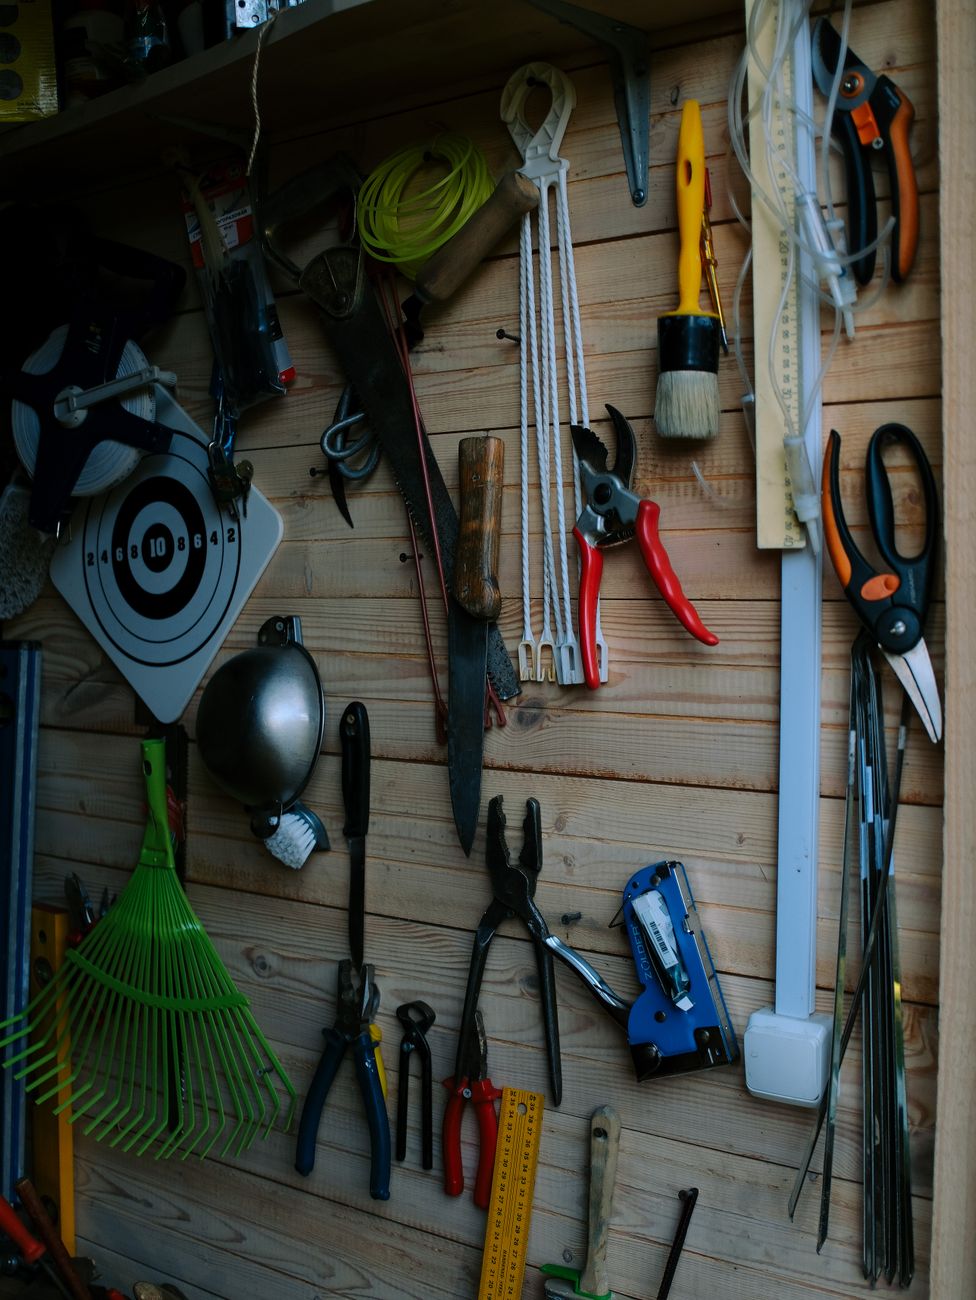
You don’t need a professional workshop to tackle a garden project. But having the right tools certainly helps.
Last week, we talked about the raised beds and the work involved in getting them from an idea to something taking shape in the garden.
This week, we’re looking at the tools that helped make it happen.
My wife suggested that I should explain what I used. She said that some people might find it useful or interesting, so here we go! It’s a good opportunity to look at the tools that earned their keep during the project.
The power tools
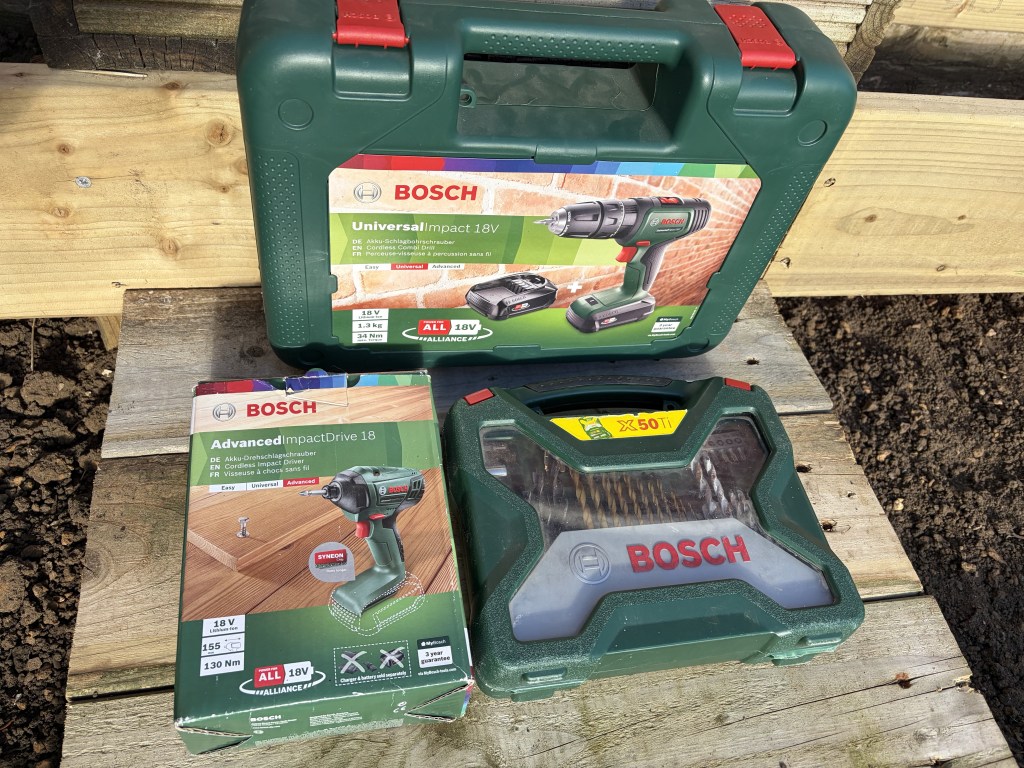
Bosch Advanced ImpactDrive 18
The Bosch Advanced ImpactDrive 18 was one of the key tools for the job. An impact driver is particularly useful when you’re driving screws into timber, especially when you’re dealing with larger fixings.
It takes much of the effort out of the job compared with doing everything by hand. When you’re assembling raised beds, with plenty of screws to drive, that’s a welcome saving of time and energy.
It’s also one of those tools that makes you wonder how you managed without it.
Bosch Universal Impact 18
The Bosch Universal Impact 18 was another useful member of the team.
Having a drill available makes preparing timber and dealing with fixings much easier. It’s worth having the right tool for the task rather than trying to make one tool do everything.
Between the drill and the impact driver, the powered side of the work was well covered.
Before starting work, I made sure that the batteries I had for both impacts were fully charged.
Bosch X50Ti bit set
Of course, power tools are only as useful as the bits you’re using with them.
The Bosch X50Ti bit set provided a selection of bits for working with different screw types and fixings. Having the right bit to hand saves time and helps avoid damaging screw heads – something that can quickly become frustrating when you’re halfway through a job.
It’s a small part of the toolkit, but a useful one.
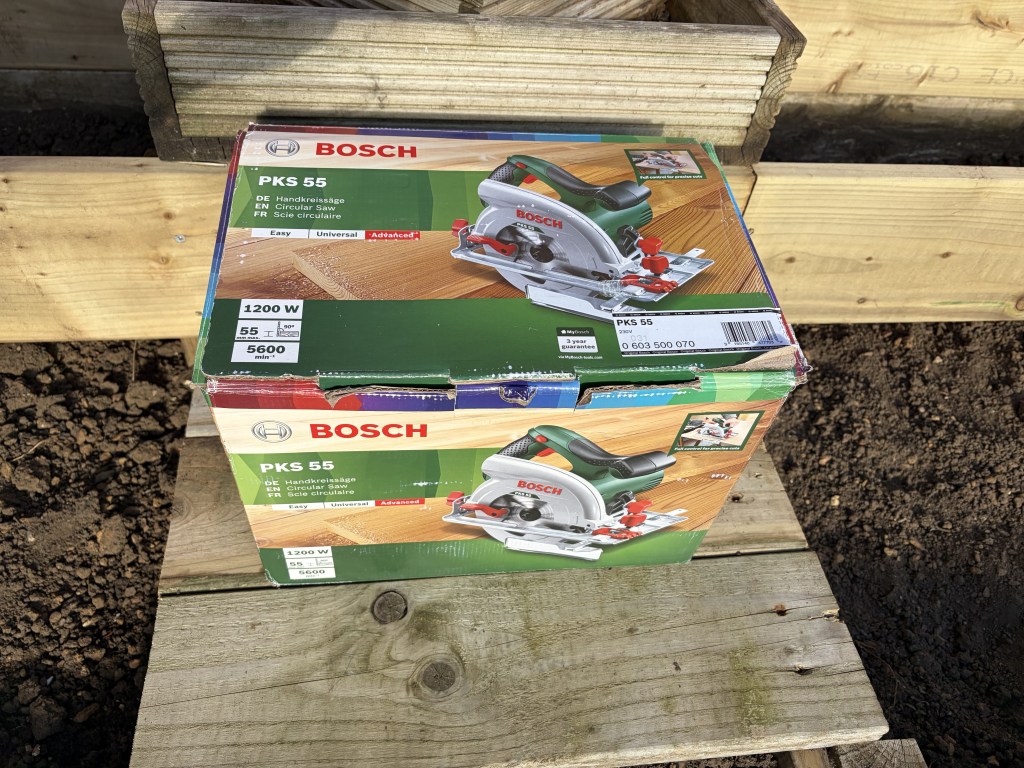
Bosch PKS 55 circular saw
The Bosch PKS 55 circular saw was there for the timber-cutting side of the project.
A circular saw is useful when you need reasonably straight, consistent cuts, particularly when several pieces of timber need to be cut to the same length.
It’s a tool that deserves a bit of respect, of course. Secure the timber properly, follow the manufacturer’s instructions and take your time. A neat cut is worth a few extra moments of preparation.
The workbench
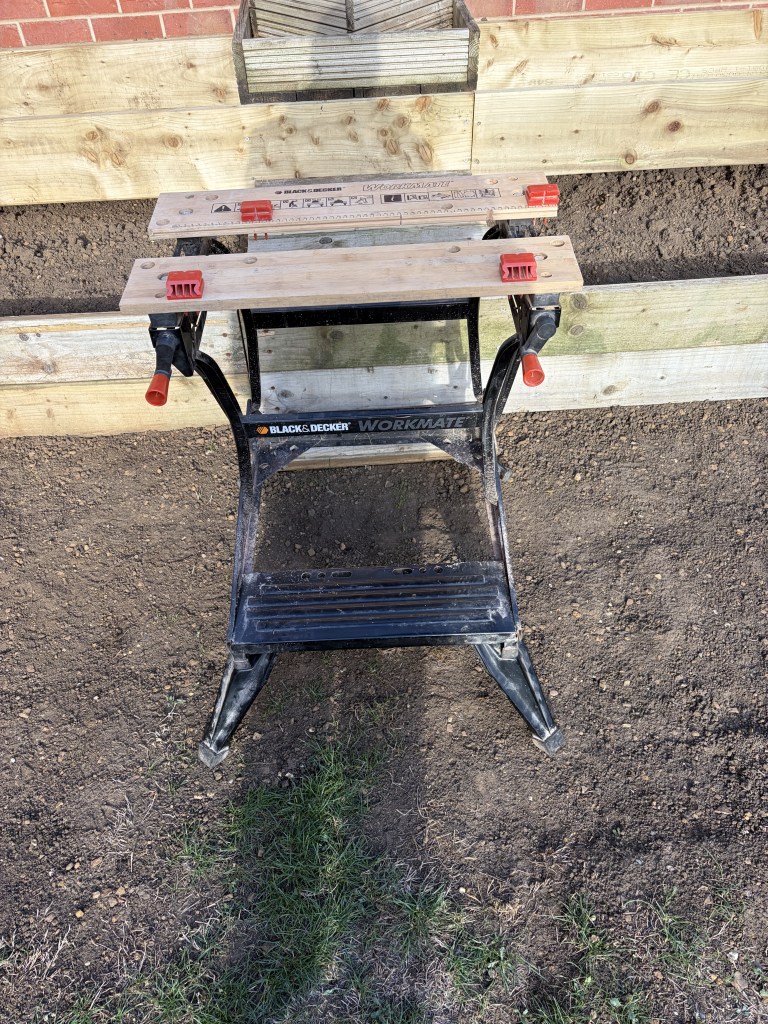
Black & Decker WorkMate
The Black & Decker WorkMate provided a practical place to support and secure timber while working on it.
Being able to hold a piece of wood steady makes cutting and other jobs much easier. It also means you’re not trying to balance timber awkwardly while simultaneously operating a tool.
It’s not the most glamorous item in the workshop, but a decent workbench or work support can make a real difference to a DIY project. I’ve had mine for years and it stands up well to all sorts of DIY jobs.
The hand tools
Power tools are useful, but they don’t do everything. Some of the most important work still relies on good old-fashioned effort – and a few well-chosen hand tools.
Homebase panel saw
The Homebase panel saw was the manual alternative for cutting timber.
A hand saw gives you control when making smaller cuts or when getting the power tools out would be more trouble than it’s worth. It also provides a useful backup if a cut needs adjusting.
Not every job needs electricity and a motor. Sometimes, a sharp saw and a little patience are all you need.
16 oz claw hammer
The 16 oz claw hammer is a classic for a reason. It’s useful for knocking things into place, tapping in fixings where appropriate and dealing with the odd stubborn bit of timber.
The claw is handy for pulling out nails, too. It’s a simple, versatile tool that earns its place in almost any DIY toolkit.
Rubber mallet
The rubber mallet is useful when you need to persuade something into position without leaving the marks a metal hammer might make.
When assembling the beds, it’s handy for making small adjustments to timber and helping components sit together neatly. The softer head gives you a little more control when you need a gentle tap rather than a hefty whack.
Sometimes, a bit of persuasion is all that’s required.
Speed square
The speed square is a small but useful tool for marking out timber and checking right angles.
When you’re cutting and assembling a wooden structure, getting your lines and angles right at the start helps everything fit together properly. It’s particularly useful for marking square cut lines and checking that components meet at 90 degrees.
It’s one of those tools that doesn’t take up much space but can save time and help improve accuracy.
Being honest, I’ve had one for a couple of years, and this was the first time I’ve used it. It was really quick and useful – I’m now looking for a bigger one to do bigger jobs.
Fork
The garden fork was useful for working the ground and loosening soil. After all, I had to loosen the existing soil so I could move it more easily, and the fork was really useful for this.
Preparing the area for a raised bed can be just as important as assembling the timber. A fork helps break up compacted ground and makes it easier to work the soil before the new structure goes into place.
It’s a reminder that a garden project isn’t always about building things. Sometimes, the groundwork is where the real effort lies.
Spade
The spade was another essential tool. Some of the existing soil was quite stubborn, so I broke it up into big chunks with the spade, then used the fork to make the soil more manageable.
It’s also a useful reminder that not every part of a DIY project can be hurried along by a power tool. Some jobs simply require a bit of digging.
As a bit of a sidenote, I prefer my garden tools to have wooden handles: they just feel nicer to work with than the more common plastic handles.
Crowbar
The crowbar was on hand for the heavier work, particularly where leverage was needed to loosen or shift something stubborn. Some of the existing soil was compacted hard, and the spade wasn’t shifting it. So I used the crowbar, using it a bit like a small pickaxe, covering myself in flying soil in the process.
It’s a straightforward tool, but useful when brute force alone isn’t getting you anywhere. Used carefully, leverage can save a lot of unnecessary straining.
Spirit level
Finally, the spirit level: I used a 1metre long one.
It might not seem the most exciting tool on the list, but it’s an important one. Raised beds need to sit properly, and checking that the timber is level helps avoid problems as the structure comes together.
It’s easy to concentrate on getting everything assembled and forget to check the basics. A quick check with a spirit level can save you from discovering that something is wonky after you’ve finished.
And once you’ve noticed something isn’t level, it’s remarkably difficult to stop looking at it.
It’s worth mentioning that the speed square and spirit level work nicely together. One helps you check that your corners are square: the other checks the structure is level. They’re different jobs, but both help keep a raised-bed build looking neat and properly assembled.
Did we need all these tools?
Not necessarily.
Some tools are essential for a particular job; others simply make the work easier, quicker or more comfortable. And there’s no point buying expensive equipment for a single project if you can borrow it or manage perfectly well with something you already own.
For us, the combination of power tools, hand tools and basic gardening equipment gave us what we needed to tackle the raised beds ourselves.
The biggest lesson is that you don’t need a professional workshop to make progress in the garden. You need a plan, a bit of patience, the right tools for the jobs involved and a willingness to get stuck in.
You might also need to accept that things won’t always go exactly to plan. This is Blooming Lovely Chaos, after all.
What’s next?
The raised beds are one step towards making the garden more useful and enjoyable. There’s still plenty to do, and the next stage is to keep building on what we’ve started.
For now, though, it’s satisfying to look at what a collection of timber, a handful of tools and a bit of hard work can achieve.
And if anyone asks what tools you need to build raised beds, you can tell them there’s a little more to it than a drill and a spade. But you don’t need to own an entire tool shop either.
Blooming Lovely Chaos, one project at a time.


Leave a Reply